The following displays how to swap a Corsair Liquid CPU Cooler with an EVGA Liquid CPU Cooler. Click on the linked text to zoom into each picture.
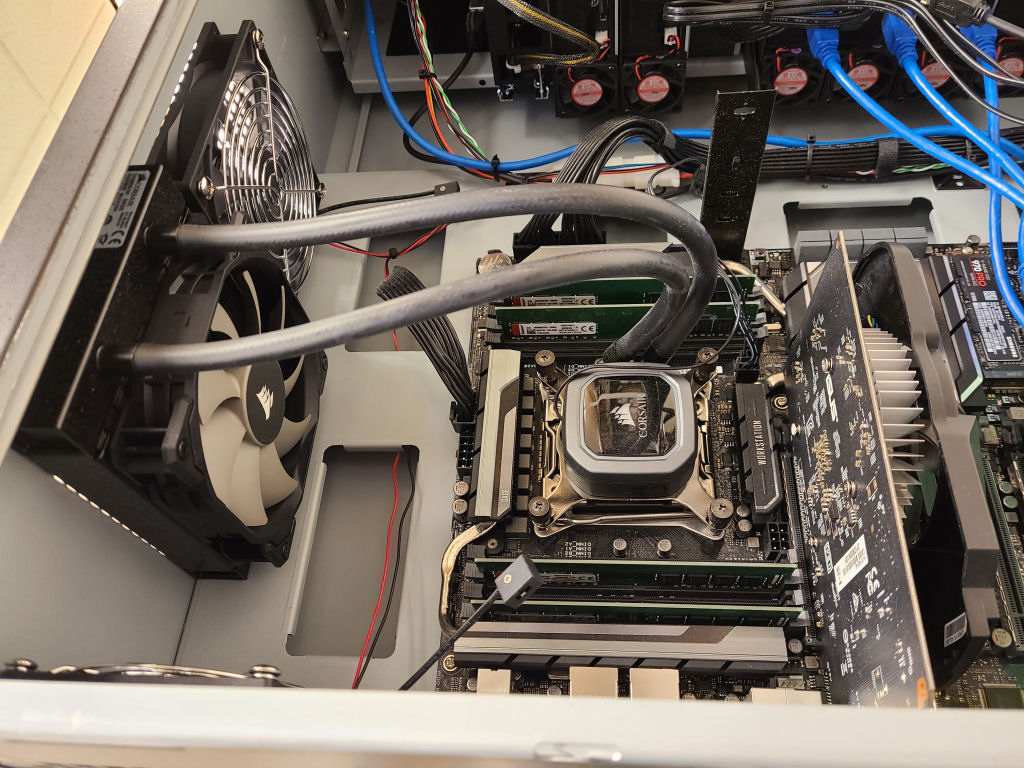
Corsair Liquid Cooler Installed

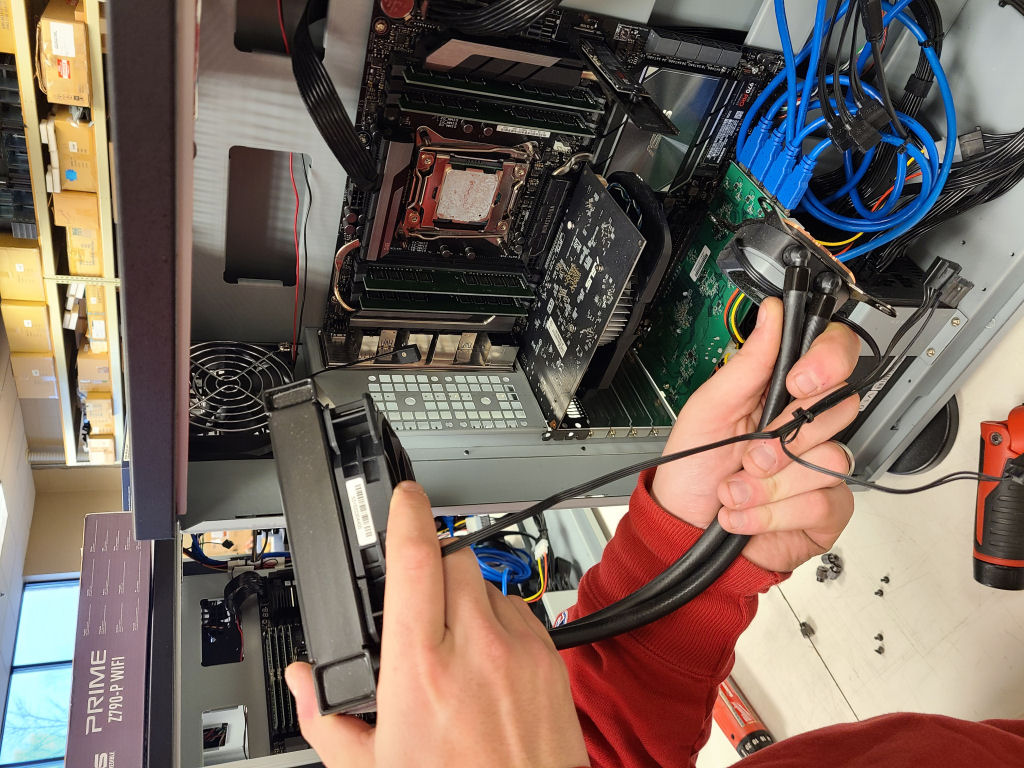
Corsair Liquid Cooler Removed - Unscrew the four fan/radiator screws from the top of the case and the four screws that hold the heatsink on the CPU. The screws holding the CPU will fall once removed, so be ready to catch them.

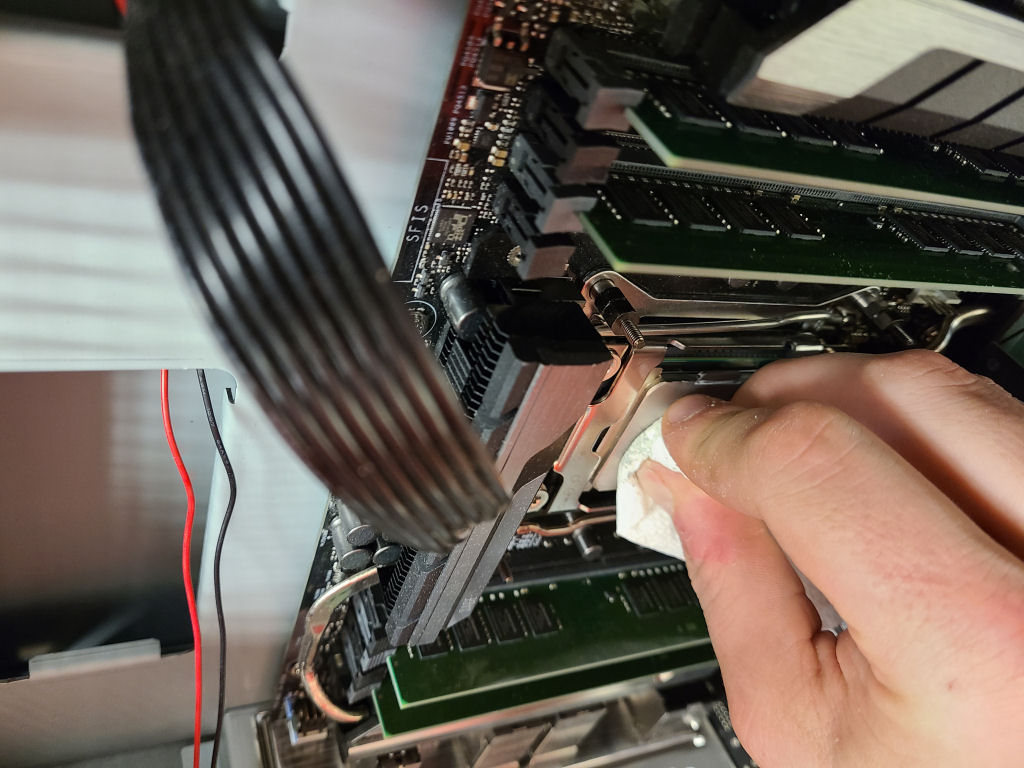
Clean CPU Heatsink - Remove the old heatsink compound from the CPU as there is new compound on the EVGA heatsink.

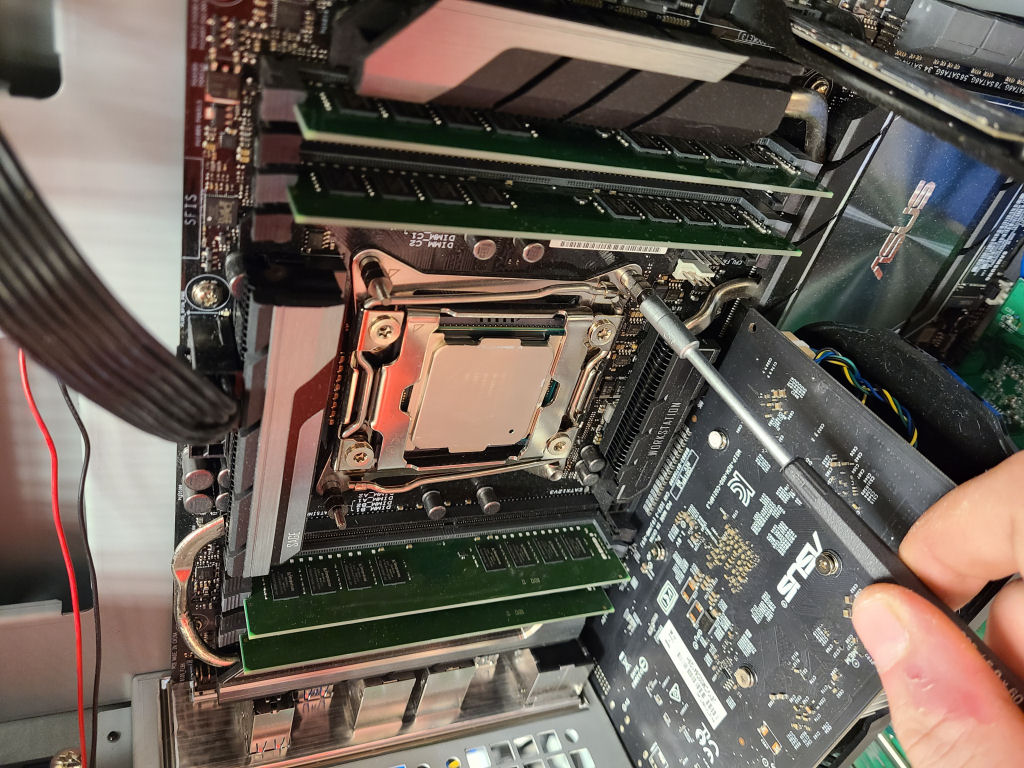
Remove Corsair Mounts - Unscrew and remove the four mounting studs with a nut driver.

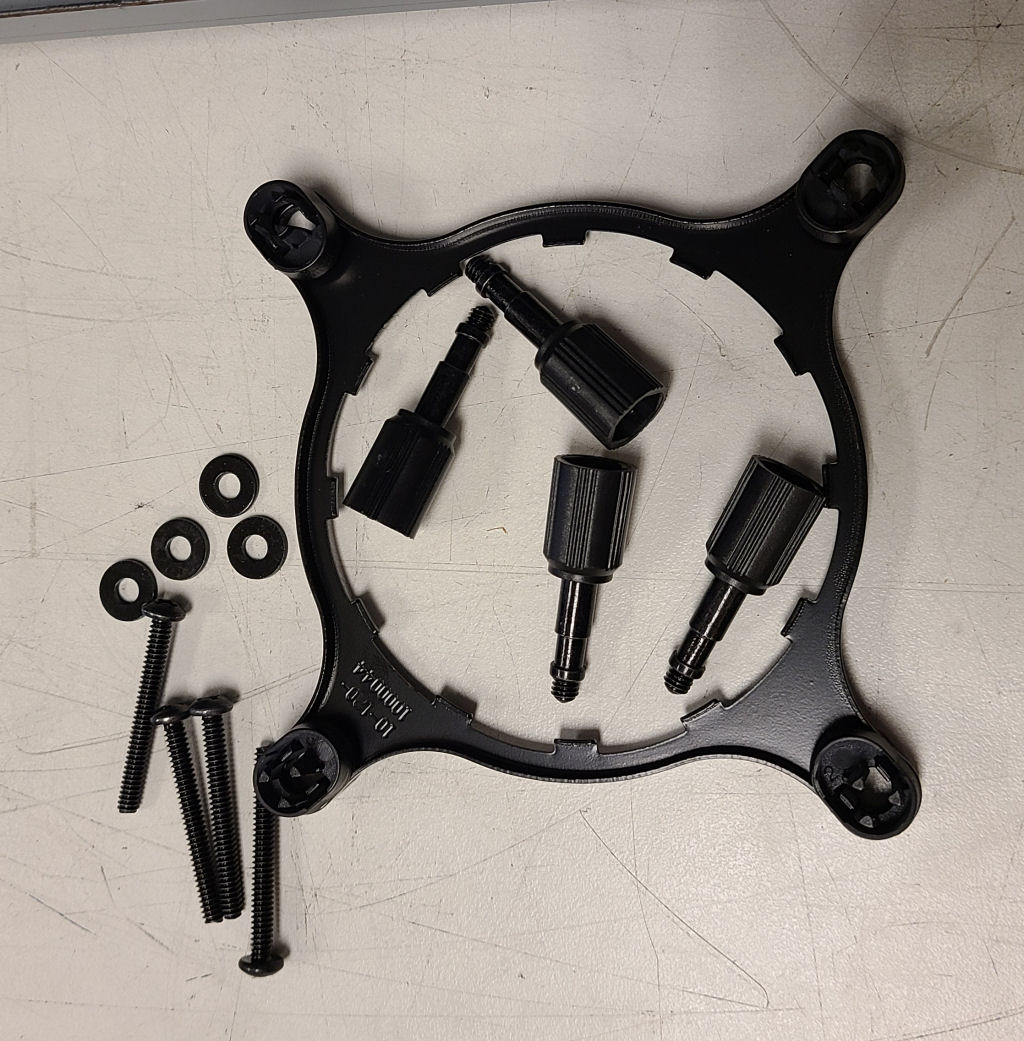
Parts Used - Make sure you select the coarse bracket screws.

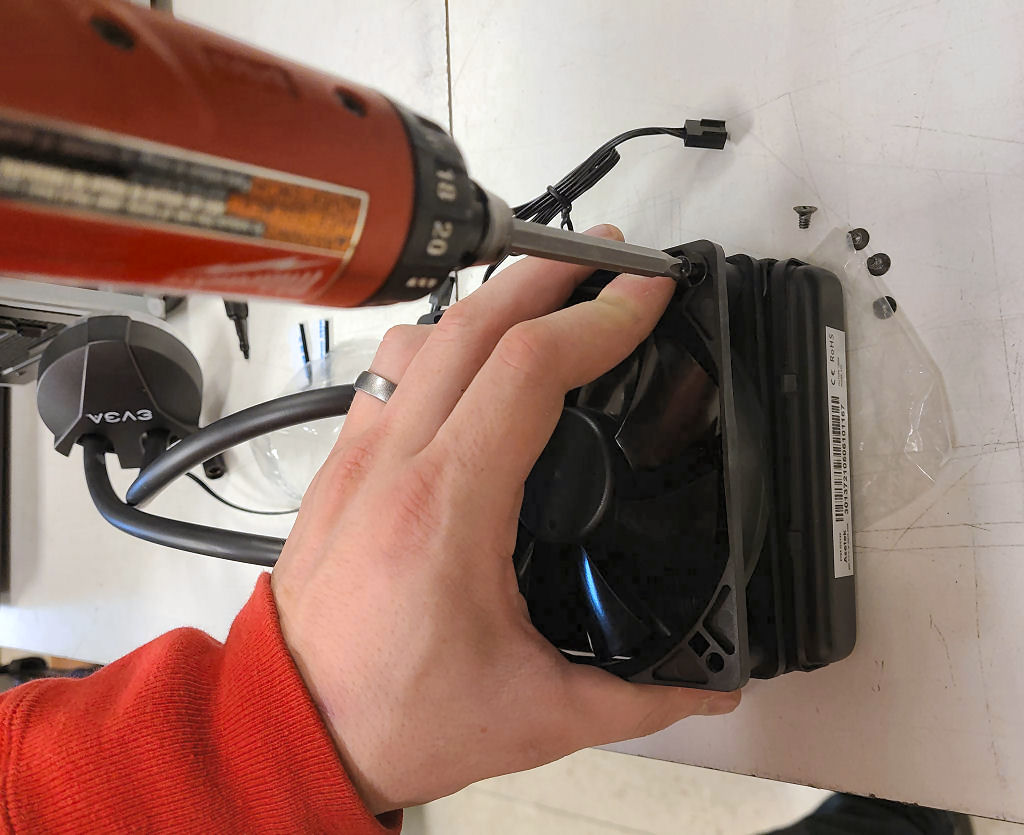
Attach Fan to Radiator - Use the long screws with washers.


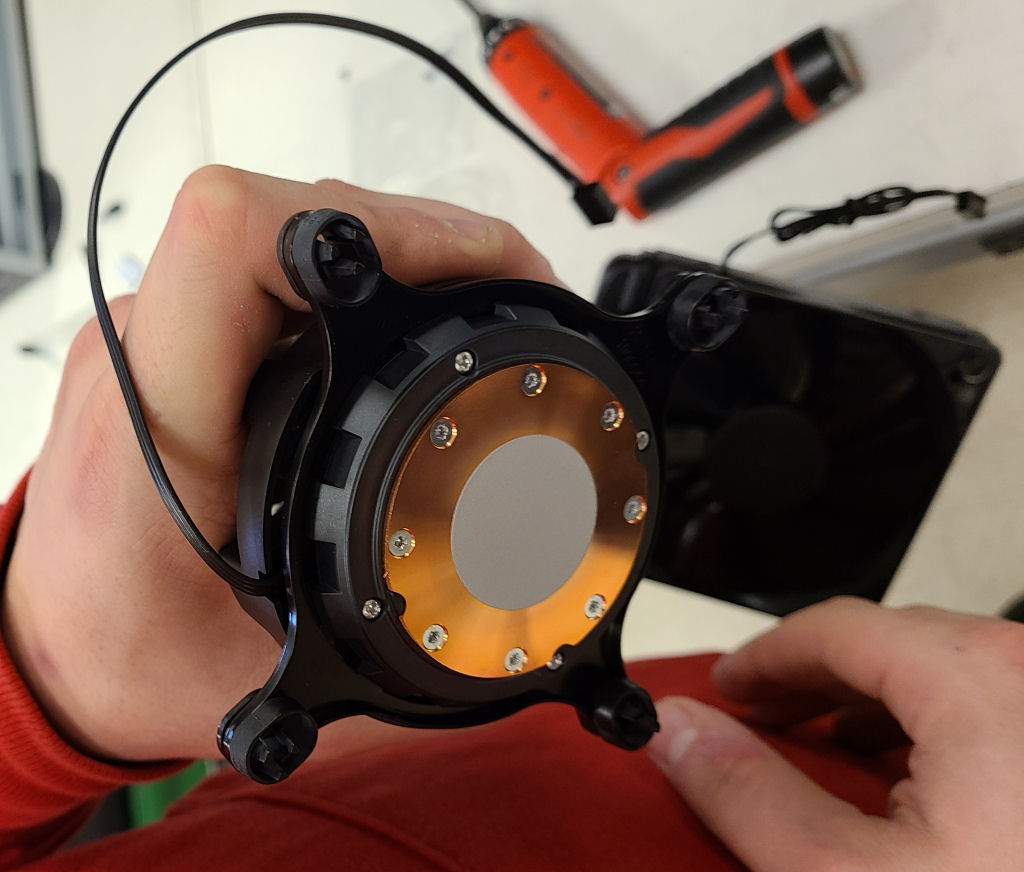
Push Coarse Screws Into Bracket

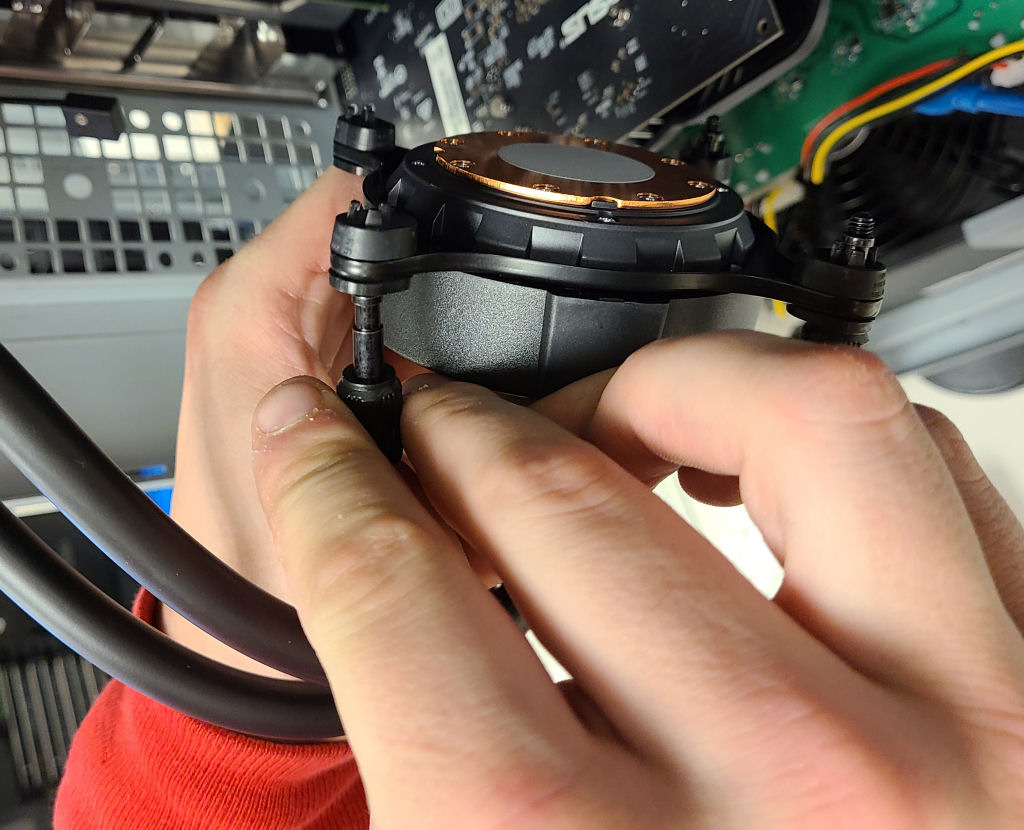
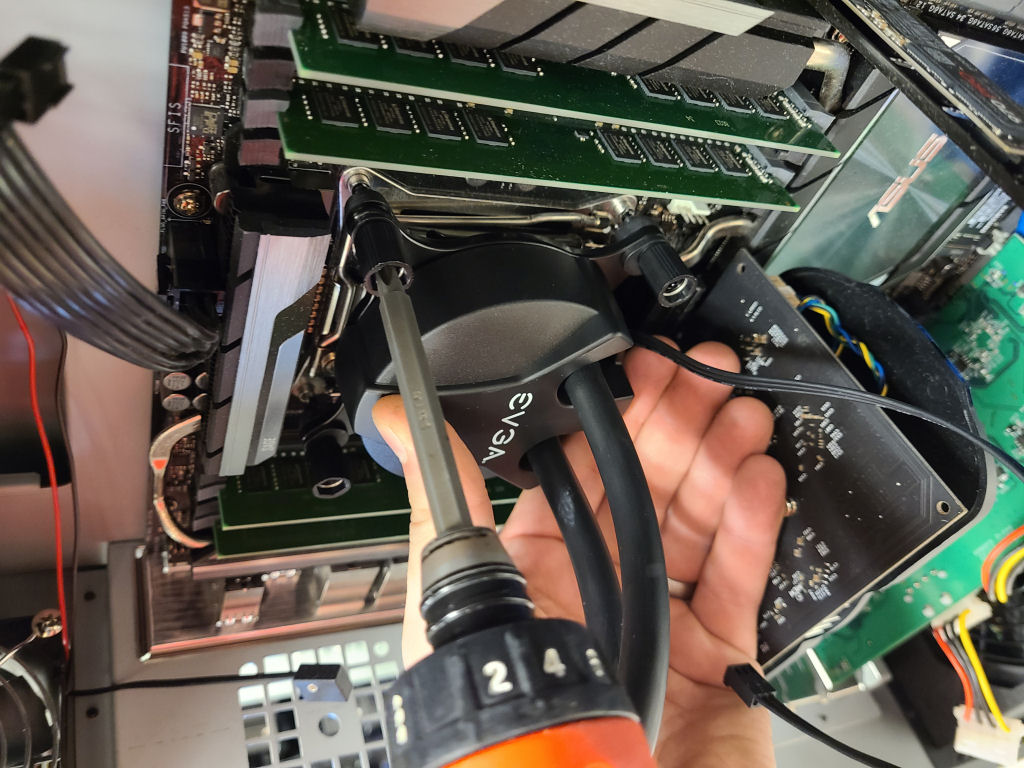
Install Radiator in Top of Case and Tighten CPU Bracket Screws


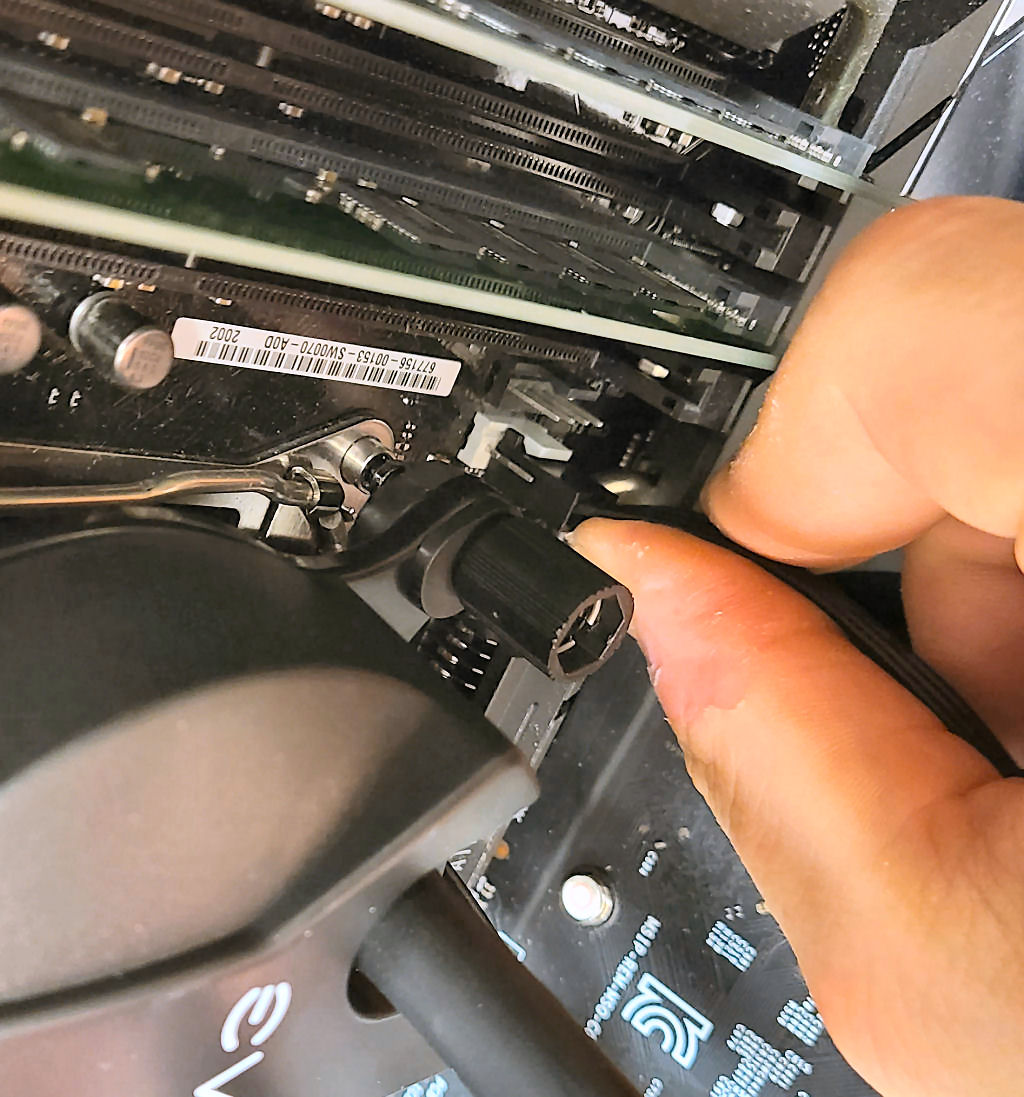
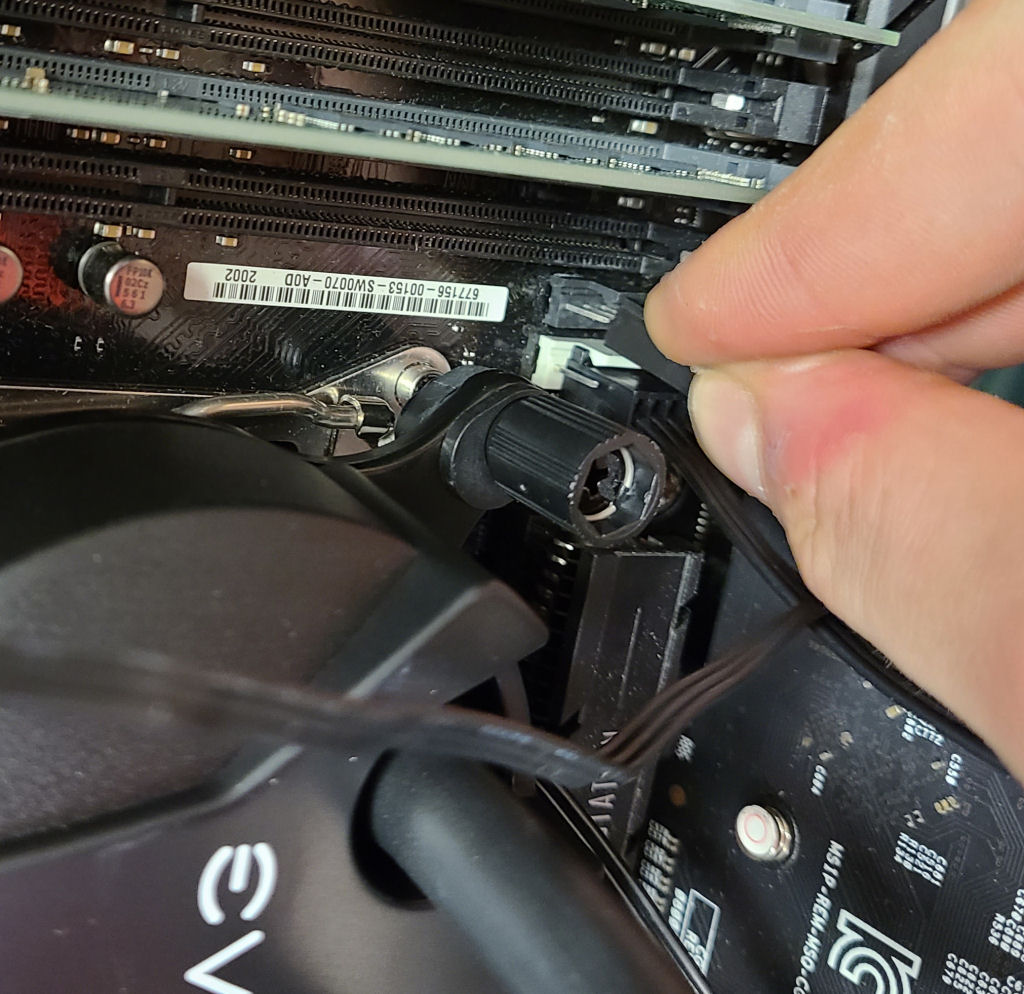
Note: Both the Heatsink and Radiator fan motherboard power header connectors have four pins and the cables have only three holes. Place the keyed cable connectors on the pins so that the top pin is unused and exposed, as the photos show.
